You have no items in your shopping cart
Cyanotype, This is how!
- Posted on
- By Laboratoriumdiscounter
- 0
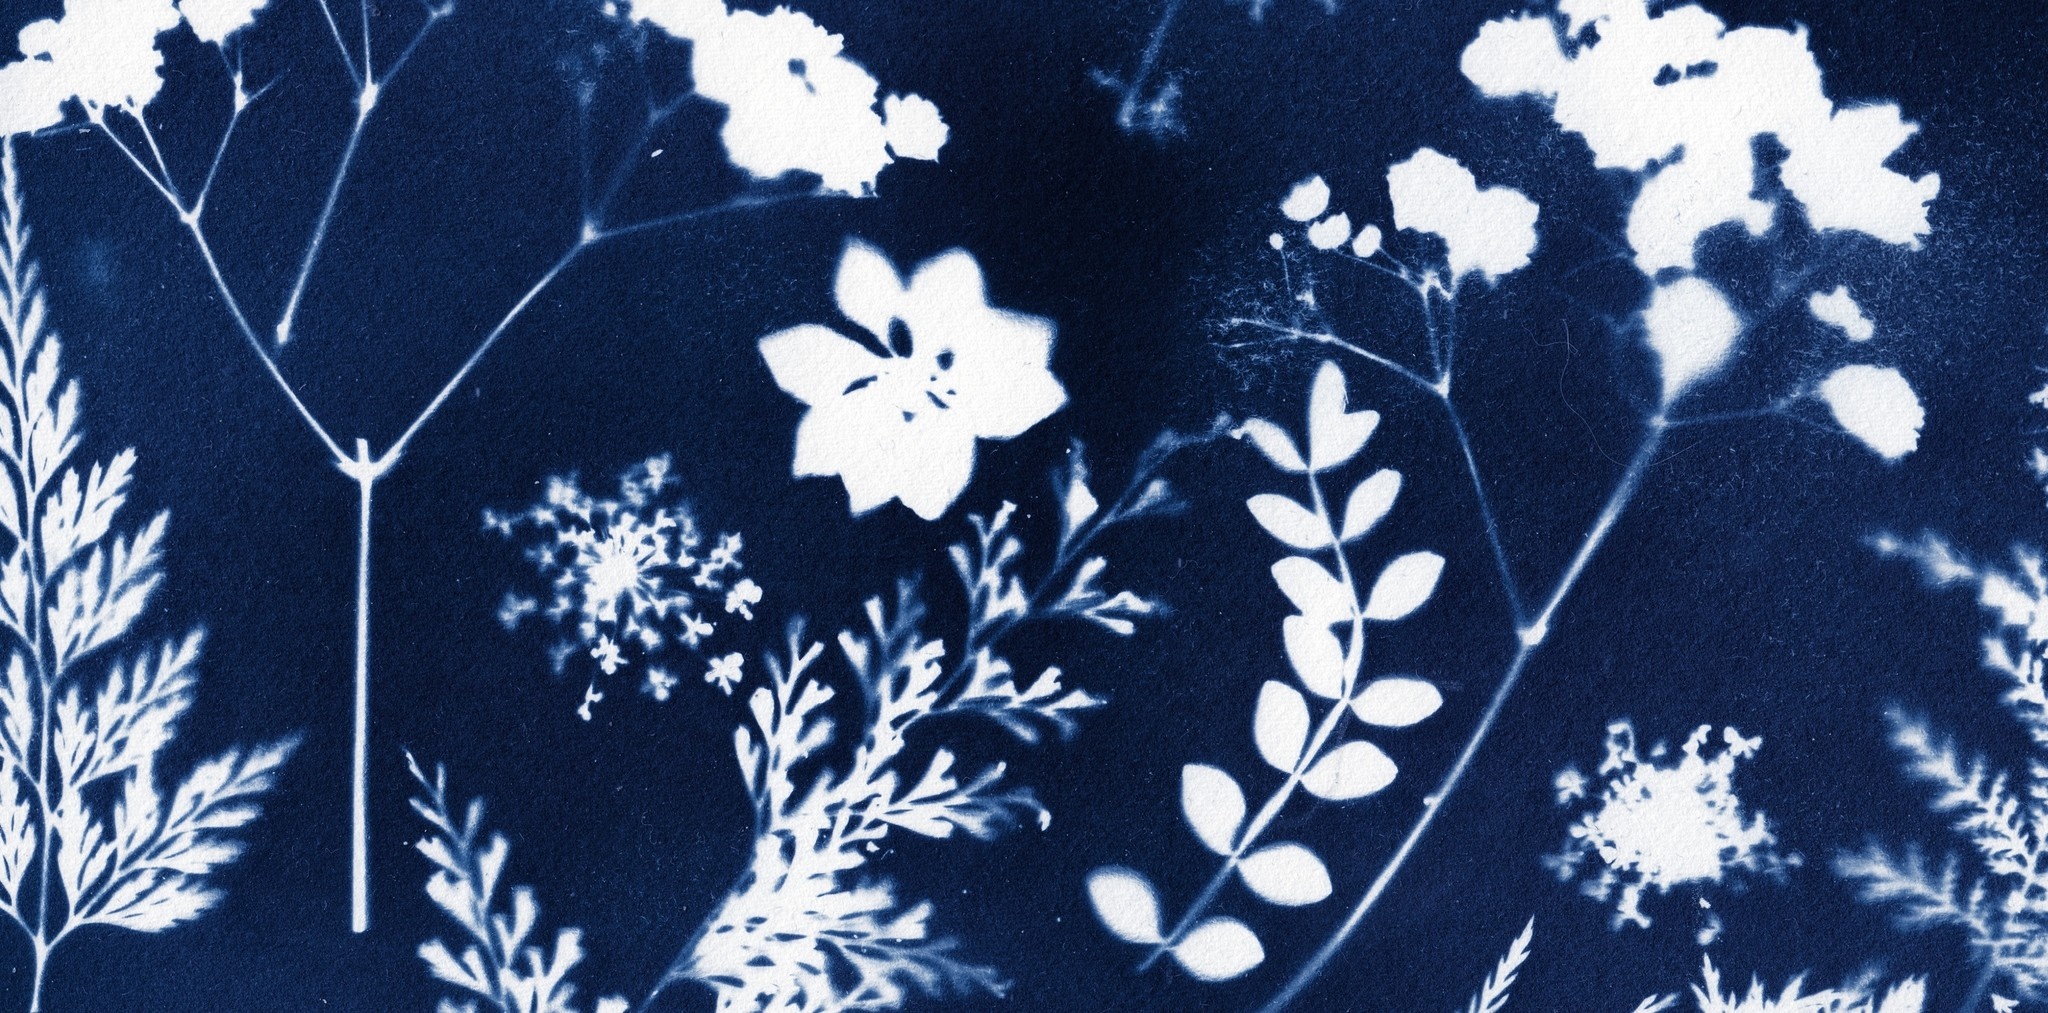
Cyanotype Prints
Cyanotype prints are an ancient method of printmaking that was invented in 1842. Nowadays, it is predominantly used by artists and hobbyists. Due to its simple process, it is a fun and relatively inexpensive hobby. To create cyanotype prints, you need a few products, and the cost of these materials is relatively low. If you're interested in making cyanotype prints, read this blog to learn how it works and what materials you need.
What is Cyanotype?
Cyanotype refers to the process in which two substances react to create a blue ink. The substance that gives the blue color is Prussian blue, formed when ferric ammonium citrate or ferric ammonium oxalate reacts with potassium ferricyanide, also known as red prussiate. In this process, a solution of ferric ammonium citrate is first applied to a surface. When exposed to sunlight, a reaction occurs, converting ferric iron (III) to ferrous iron (II). When developed with potassium ferricyanide and rinsed with water, a blue print remains. Patterns can be created by selectively applying the solution to certain parts of the paper.
What Products Do We Need to Create a Cyanotype Print?
To make cyanotype prints, you will need the following products:
-Chemical Products: Ferric ammonium citrate or ferric ammonium oxalate and Potassium ferricyanide
-Tools:
Sponge brushes
Paper or other absorbent surfaces (such as fabric)
Procedure:
- Prepare the Light-Sensitive Solution
The light-sensitive solution is easy to prepare. You'll need two chemicals, which can be obtained from our webshop. For 1 liter, you'll need:
100g ferric ammonium citrate and 40g potassium ferricyanide (red prussiate)
Dissolve these two ingredients separately in measuring cups with 1/2 liter of water each. The two solutions can be stored in bottles for an extended period. This process can be done in daylight. To coat the paper, take equal parts from the two solutions and mix them in a 1:1 ratio.
Note: Chemicals should be handled with caution. Refer to the safety instructions found in the safety data sheets.
- Paper and Coloring Paper is required as the base for the print. Other materials such as wood and fabric are also options. Almost any type of paper can be used, but thicker, more valuable paper such as 230g/m² watercolor paper is recommended because it withstands washing and dries without significant deformation.
The paper is then colored with a sponge brush using the mixture described in step 1. Drops of the solution can also be applied to the paper or brush using a pipette, similar to watercolor painting. Dry the paper, and a light green color will appear. Uneven application of the color can contribute to unique effects. Note that the mixture of the two chemical solutions is light-sensitive, so the entire process should be done in the darkest possible place (a weak incandescent bulb is acceptable). Store the painted light-sensitive paper in complete darkness.
- Negative A black and white negative is required because it blocks light. Any areas you don't want to develop should be covered with black paper or black material.
Another exciting option is to create prints using everyday objects or natural objects that block light, such as leaves, keys, or other items.
- Exposure Exposure is done using UV light. Direct sunlight on a clear, beautiful day is ideal. Artificial UV light sources like tanning beds may require several attempts, and weaker devices may require more patience (depending on the device's performance, exposure times in the range of hours may be necessary).
Place the negative on the light-sensitive paper and expose it to UV light. The bright areas in the negative will quickly start to change color. The color transformation progresses from the original light green to a dark blue-green and finally to brown. Once the black areas of the negative in the image have changed color, the paper is adequately exposed. You don't have to worry about overexposure since the image becomes significantly brighter during the subsequent washing process.
Approximate guideline: On a sunny day, exposure takes between 5 and 10 minutes.
-
Rinse Hold the print under a stream of water or rinse it in a container until all the green and brown tones disappear, leaving behind a pure blue image. Then, let it dry. If there are still some green patches on the drying print, you haven't rinsed it enough and should rinse it more thoroughly.
-
Drying Hang the print to dry. Once it's completely dry, your print is ready! Through practice, you can experiment with different materials and negatives that allow varying degrees of light, resulting in different shades and beautiful effects.
Cleaning up the Workspace:
After you finish cyanotype printing, clean up your workspace thoroughly and ensure no chemical products are left behind. While the substances themselves are not highly dangerous, it's important to avoid contact between potassium ferricyanide and acids. When exposed to strong acid, potassium ferricyanide can react to form hydrogen cyanide, which is extremely toxic! Always keep it locked away and out of reach of children.
By following these steps, you can create stunning cyanotype prints and explore the creative possibilities offered by this unique printing process. Enjoy your cyanotype journey!
Comments
Be the first to comment...