You have no items in your shopping cart
Exploring the Fascinating World of Crystal Growth with Salts
- Posted on
- By Laboratoriumdiscounter
- 0
The captivating beauty of crystals has fascinated humans for centuries. Their intricate structures and vibrant colors evoke a sense of wonder and awe. Did you know that you can grow your own crystals using simple salts? In this blog post, we'll delve into the exciting world of crystal growth and explore the process of creating stunning salt crystals right in the comfort of your home.
Understanding Crystal Growth: Crystals are solid materials formed by the repetitive arrangement of atoms or molecules in a highly organized and symmetrical pattern. When the right conditions are provided, such as a supersaturated solution and a controlled environment, crystals can be grown from various substances, including salts.
Materials Needed: To embark on your crystal-growing adventure, gather the following materials:
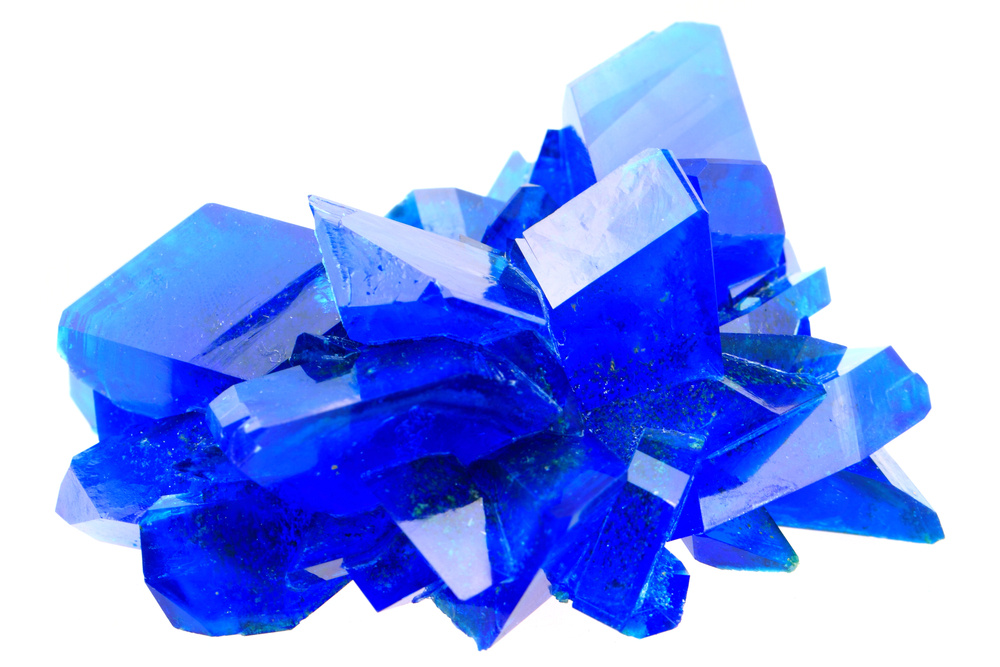
- Salt of your choice (Magnesium sulfate, Sodium Chloride, alum, or copper sulfate are commonly used)
- Distilled water
- Glass or plastic containers
- String, pipe cleaners, or seed crystals
- Stirring utensil (e.g., spoon or stir rod)
- Clothespin or clip
- coloring (optional)
- Protective gloves (if working with potentially harmful salts)
Step-by-Step Guide:
-
Choose your salt: Select the type of salt you wish to use for crystal growth. Different salts yield different crystal shapes and colors, so feel free to experiment and explore various options.
-
Prepare a supersaturated solution: In a clean glass or plastic container, add distilled water and heat it until it's hot but not boiling. Gradually add your chosen salt to the water, stirring continuously until the salt dissolves. Keep adding salt until no more can dissolve, creating a supersaturated solution. If desired, you can add a few drops of food coloring to the solution for colored crystals.
-
Seed your crystals: To initiate crystal growth, you need a starting point or "seed." This can be a string, pipe cleaner, or even a small existing crystal. Attach the seed to a clothespin or clip and suspend it in the container, making sure it doesn't touch the sides or bottom.
-
Allow the crystals to grow: Place the container in a safe location where it won't be disturbed. Ensure the temperature and lighting conditions are consistent throughout the growth process. Over time, crystals will start to form around the seed as the solution cools and evaporates. Be patient, as crystal growth can take several hours to several weeks, depending on the size and type of crystals you're growing.
-
Observe and document: As the crystals grow, take the time to observe their progress. Notice the formation of intricate shapes, the emergence of colors, and the unique patterns that develop. Document the growth process through photographs or sketches to capture the mesmerizing transformation.
-
Harvest and display: Once the crystals have reached your desired size, carefully remove them from the solution using a pair of tweezers or a spoon. Gently rinse them with distilled water to remove any excess solution and let them air dry. Display your beautiful salt crystals in a glass jar or create jewelry pieces with them. The possibilities are endless!
Safety Considerations: While growing crystals with salts is generally safe, it's important to exercise caution, especially when handling potentially harmful salts. Some salts may cause skin irritation or be toxic if ingested. Always wear protective gloves when handling such salts and avoid contact with eyes or open wounds. Keep crystal-growing experiments away from children or pets.
Comments
Be the first to comment...